Voting
During the Ballot's Voting phase, the moderator can keep tabs on the voting results. They also are responsible for approving and rejecting write-in votes
Example: When the Allow Write-In Votes option is enabled within Contest Settings, approving write-in contestants becomes critical. Only approved contestants will be displayed on the front-end and be available for voting or winner selection. These will display as Pending items and have an Added by End User designation below the Contestant's name
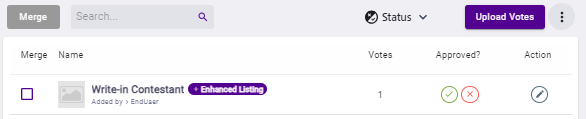
The moderator may choose to reject an existing contestant. Once rejected, the contestant will no longer be displayed to voters
Additionally, the moderator may choose to optionally upload a group of votes. See Upload Votes for additional information
To manage your ballot's votes, expand the type of ballot in question (Groups, Categories, or List), and follow the instructions below.
Groups
- Within Phases, click on a Group in the left side panel to expand the Group. This will expand the Group to show the individual Categories
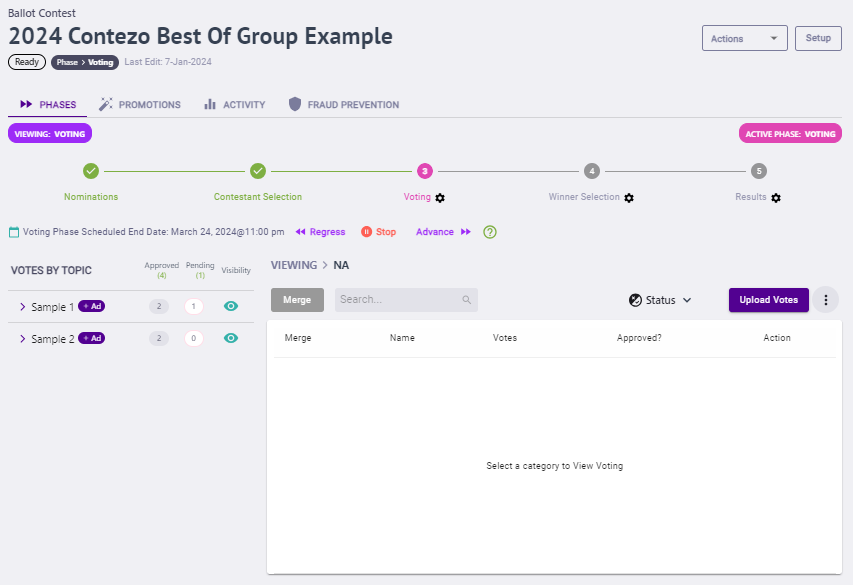
- Click on a Category to show the Contestant Details for that Category

- From here you're able to Approve or Reject a contestant
- To Approve a submission, click the check mark icon to the right of the nomination you wish to approve
- To Reject a submission, click the X icon to the right of the nomination you want to reject
Categories
- Within Phases, Click a Category in the left side panel to show the Contestant Details for that Category
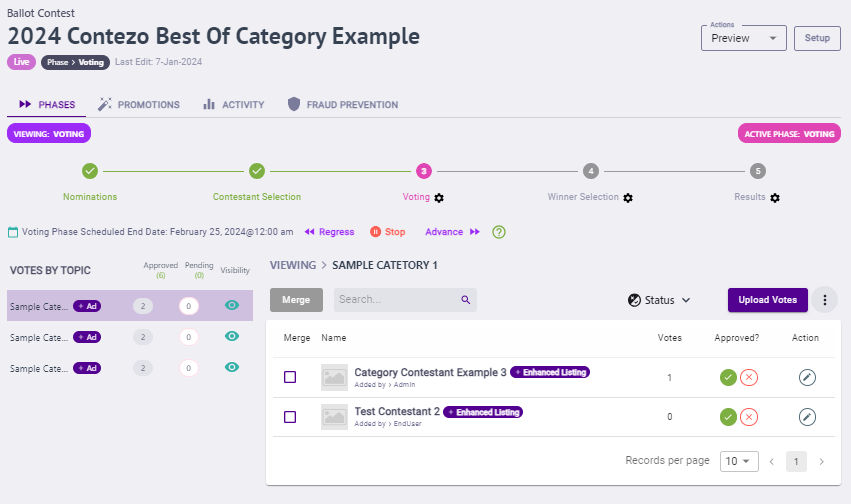
- From here you're able to Approve or Reject a contestant
- To Approve a submission, click the check mark icon to the right of the nomination you wish to approve.
- To Reject a submission, click the X icon to the right of the nomination you want to reject.
List
- Within Phases, you're able to Approve or Reject a contestant
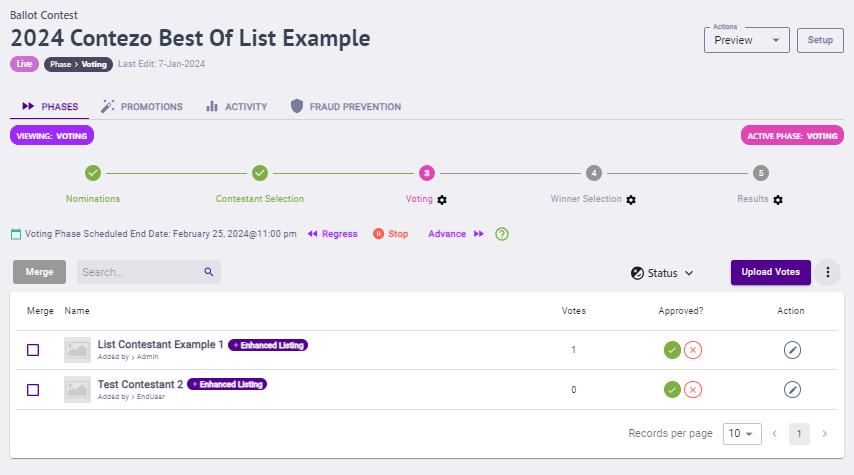
- To Approve a submission, click the check mark icon to the right of the nomination you wish to approve
- To Reject a submission, click the X icon to the right of the nomination you want to reject