Create Enhanced Listing
To create an Enhanced Listing on your Ballot Contest, follow the directions below:
- Navigate to the Contests Page by clicking Contests in the main navigation at the top of any page
- Utilize the search options to find the ballot contest you want to moderate
- Click on the three-dot menu on the far right of your contest
- Select Moderate
- Click on the Promotions tab
- Select the Enhanced Listings tab
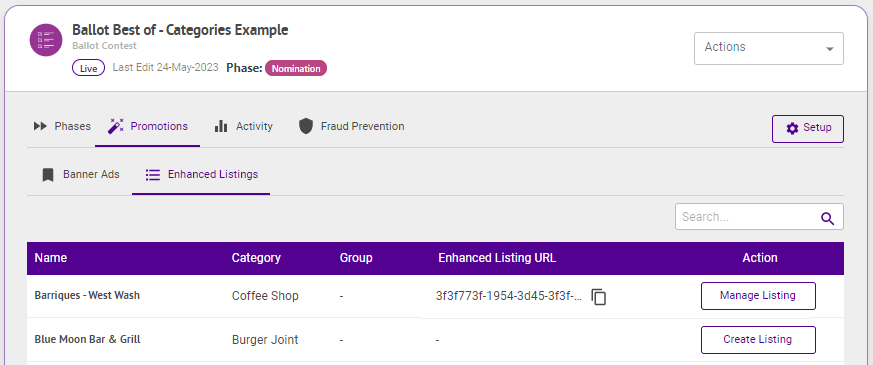
- Utilize the Search in the upper right to find the contestant within your ballot that you wish to highlight

- Click Create Listing

- Optionally update Name - this defaults to the Contestant's name. If updated this is the name that will be displayed on the contestant's Enhanced Listing Page
- Enter a Description utilizing our WYSIWYG Editor
- Click Upload Logo to upload a logo image
- Click Upload Header to upload a header image
- Optionally enter a Text to Vote Code — this is for when third-party text-to-voting is to be utilized in conjunction with the Upload Votes functionality
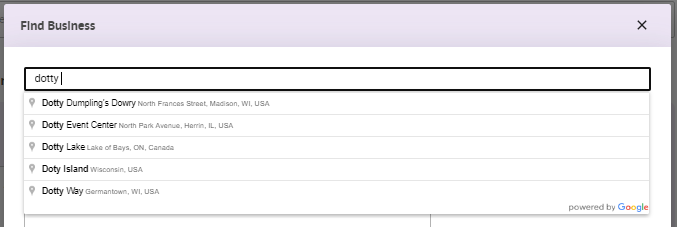
- Click Find Business
- Start entering the Business Name

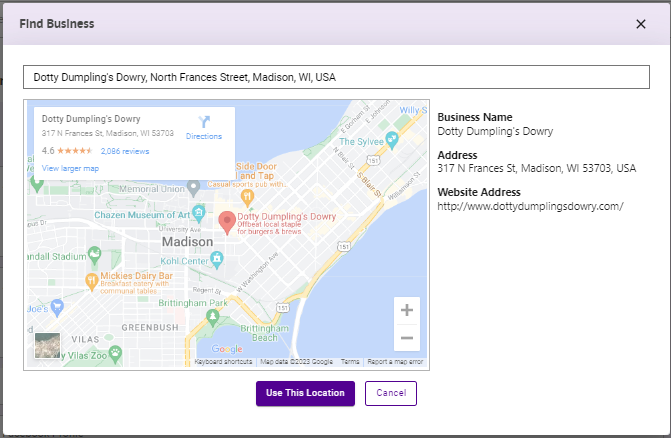
- Select the business name when it appears
- Click Use This Location
- Optionally enter Facebook, Instagram, and TikTok Profile(s)
- Optionally click Add Location to add additional locations — this is for single business with multiple location / addresses
- Click Publish